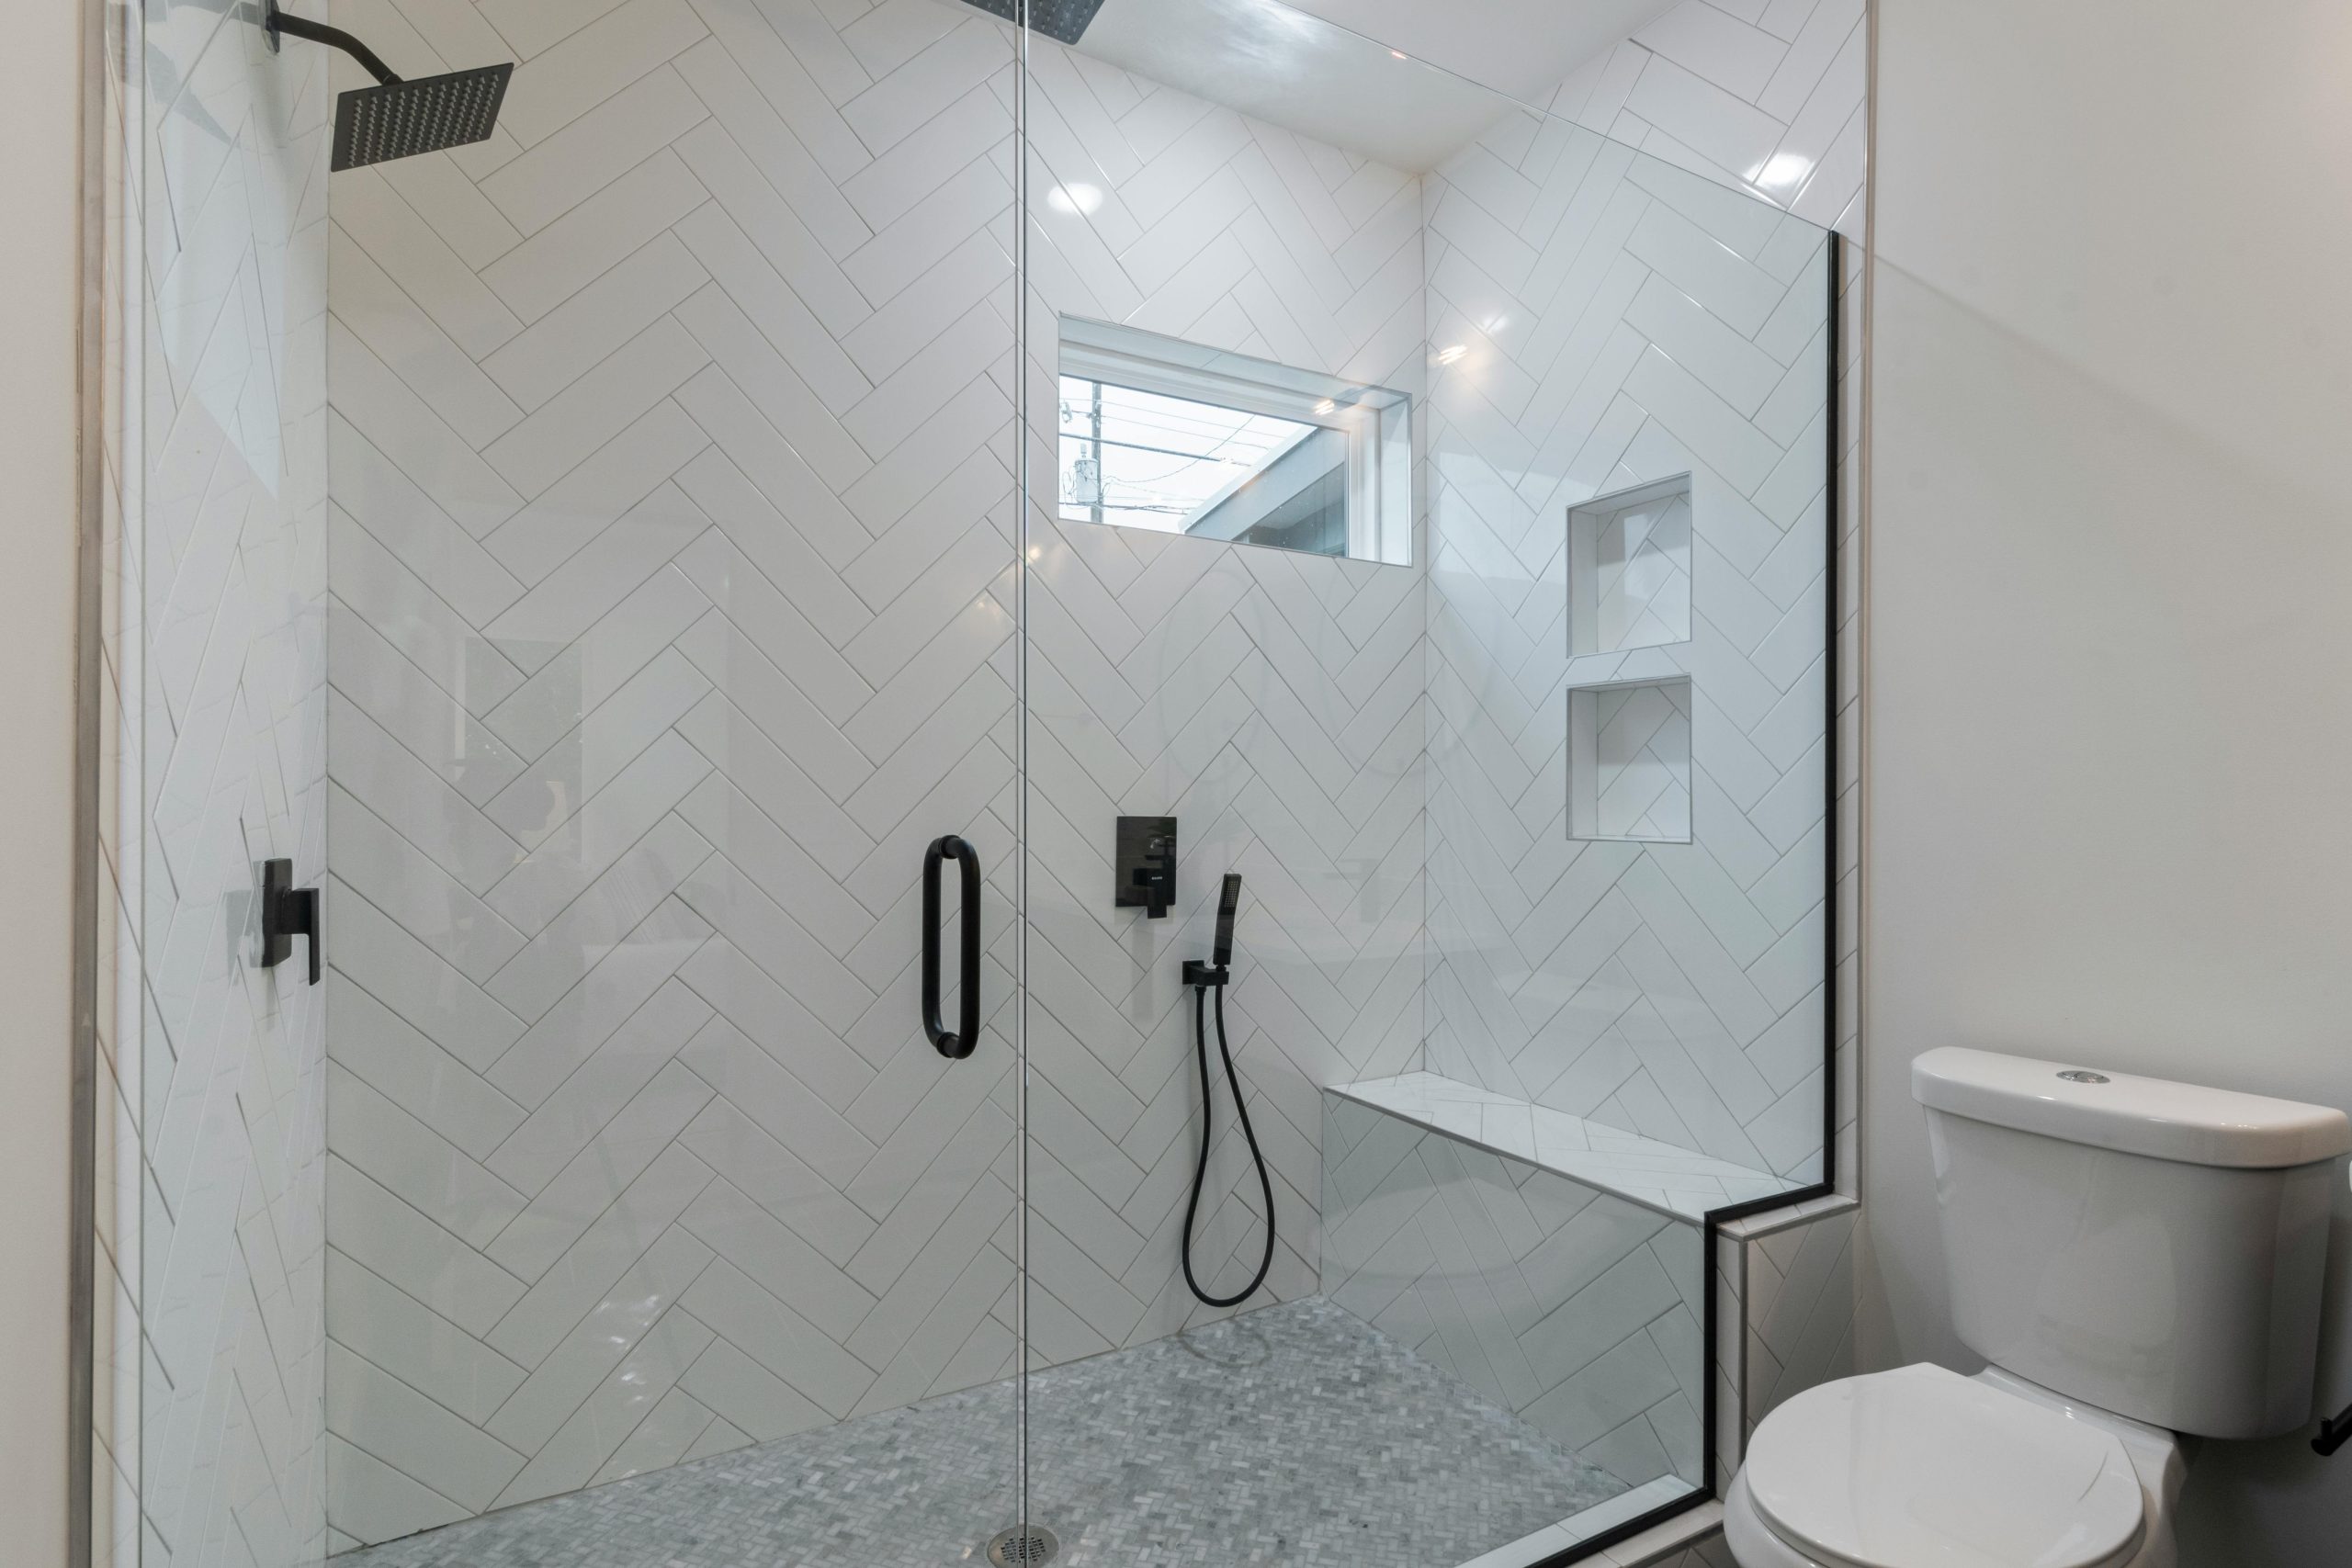
If you’re planning a bathroom remodel, a custom shower bench seat is a great way to add both functionality and luxury to your space. Whether you’re looking for added comfort, accessibility, or spa-like appeal, a built-in bench can transform your shower into a relaxing retreat.
At New Bay Remodeling, we specialize in bathroom renovations across Clearwater, FL, and nearby areas—and today, we’re sharing expert tips on how to build a custom shower bench seat that’s stylish, durable, and perfectly suited to your space.
How To Build A Custom Shower Bench Seat
Step 1: Determine the Purpose and Size
Before starting construction, consider how you plan to use the bench. Is it for shaving, relaxation, accessibility, or aesthetics? The intended use will help determine the ideal size and location.
Standard Bench Dimensions:
Height: 17″ to 19″
Depth: 15″ to 18″
Width: Custom, depending on your shower space
Step 2: Choose the Right Materials
Your shower bench needs to be water-resistant and sturdy. At New Bay Remodeling, we recommend the following materials:
Framing: Pressure-treated wood or metal studs
Surface: Cement backer board
Finish: Porcelain tile, natural stone, or quartz for a sleek and waterproof surface
Want a floating, wall-mounted, or corner bench? We’ll help you select the right style for your shower layout.
Step 3: Build the Frame
For a built-in bench:
Frame the Bench: Use treated lumber to construct a strong, stable frame anchored to the wall studs.
Secure It: Attach securely using corrosion-resistant screws or anchors.
Install Cement Board: Apply cement board over the frame, ensuring all joints are sealed with waterproof mesh tape.
Step 4: Waterproof the Structure
Waterproofing is critical to avoid mold and water damage:
Use a waterproof membrane or liquid waterproofing product over all surfaces.
Pay special attention to corners and seams.
At New Bay Remodeling, we never skip this step—it’s essential for long-term durability and peace of mind.
Step 5: Tile and Finish
Once the waterproofing is dry:
Install tile or stone using thin-set mortar.
Ensure proper slope so water drains off the bench.
Grout and seal for a polished, moisture-resistant finish.
We can help you choose tile that complements the rest of your shower design and enhances the overall aesthetics.
Step 6: Let the Pros Handle It (Optional but Recommended)
While DIY is possible, building a custom shower bench requires precise measurements, structural integrity, and expert waterproofing. Hiring a professional remodeling team ensures:
Code compliance
Flawless execution
Long-term reliability
At New Bay Remodeling, we create stunning, functional bathrooms for homeowners across Clearwater and the surrounding areas. Whether you’re dreaming of a built-in bench, a full shower remodel, or a complete bathroom transformation—we’ve got you covered.
Ready to Upgrade Your Shower?
Contact New Bay Remodeling today for a free consultation. Let’s turn your bathroom into the spa-like escape you’ve always wanted—with a custom shower bench built to last.
Ready to start your bathroom project? New Bay Remodeling offers bathroom remodeling services across Tampa Bay. Call (813) 590-0333 or request a free consultation today.
Related Articles
- Why Choose Shower Wall Panels? Key Benefits Over Traditional Tiles
- Shower Replacement in Tampa Bay: Transform Your Bathroom with New Bay Remodeling
- The Importance of Proper Ventilation in Shower Construction
- Signs It’s Time for a Shower Replacement in Your Tampa Bay Home
Helpful Resources
Ready to Start Your Remodel?
New Bay Remodeling is Tampa Bay's trusted kitchen and bathroom remodeling company — licensed, insured, with a 5-year warranty on every project.